Feeling boxed in by Shopify’s limitations? Dreaming of customizing your online store to the moon and back? Switching to WooCommerce offers an ecommerce haven you never knew existed. Say goodbye to hefty subscription fees and unlock a world of open-source flexibility, unparalleled plugin power, and endless community support.
Whether you’re wrestling with limited design options, yearning for deeper SEO control, or simply craving the cost-savings that self-hosting delivers, WooCommerce empowers you to take the reins of your brand.
This streamlined article, tailored for eCommerce business owners like you, lays out a 7-step blueprint for transitioning seamlessly from Shopify to WooCommerce. So, buckle up, ditch the restrictions, and get ready to experience the boundless potential of your online empire.
Ready to import your shopify data, migrate to WordPress, and finally move with the freedom of WooCommerce? Buckle up, this migration roadmap is your key to ecommerce liberation.
Step 1: Assess Your Store and Data
Before we dive into the exhilarating migration process, let’s get organized! This initial step involves taking stock of your current Shopify ecosystem, ensuring a smooth transition to your new WooCommerce haven.
1. Data Inventory:
- Products: Compile a list of all your product that you were selling on Shopify in detail, including descriptions, images, variants, and SKUs. Consider using Shopify’s “Products” export to capture everything in a CSV file.
- Customers: Assess the depth of customer data you require. Do you need basic information like names and emails, or are purchase history and loyalty points crucial? Download your customer data from Shopify to understand its scope.
- Orders: Analyze your order history. Will you need to migrate order details like shipping addresses, payment methods, and product variations? Export your order data from Shopify for safekeeping.
- Content: Don’t forget your valuable blog posts, static pages, and other content. Download them as HTML files for seamless import into WordPress.
2. Plugin Audit:
- Identify essential plugins: When you had setup your shopify store you must have installed various apps for your Shopify store. Make a list of your active Shopify apps that enhance your store’s functionality (e.g., SEO tools, shipping integrations, marketing automation).
- Research WooCommerce alternatives: Explore the vast WordPress plugin library to find compatible replacements for your Shopify apps. Many popular tools have dedicated WooCommerce versions, ensuring feature continuity.
- Evaluate custom plugins: If you have custom apps built specifically for your Shopify store, assess their compatibility with WooCommerce. You may need to rewrite them for the new platform.
3. Design Complexity Check:
- Theme analysis: Analyze your current Shopify theme’s structure and functionalities. Are there heavily customized elements or unique features that might not translate directly to WooCommerce?
- Responsiveness review: Ensure your theme is mobile-friendly! Today’s consumers demand seamless experiences across devices.
- Customization potential: Assess your desired level of design control in WooCommerce. While themes offer a solid base, understanding your customization needs will help you choose the right theme and plugins.
Step 2: Use Plugin For Migration
Feeling overwhelmed by the prospect of manually transferring mountains of data? Fear not, fellow eCommerce warriors! The magic of plugins comes to the rescue, offering a streamlined path to migrate your Shopify data to WooCommerce. Here’s how these digital wizards work their charm:
1. Popular Plugin Powerhouses:
This industry leader boasts a comprehensive migration toolkit, effortlessly moving products, customers, orders, and even blog content from Shopify to WooCommerce. Its intuitive interface and detailed documentation make it a breeze to use, even for tech novices.
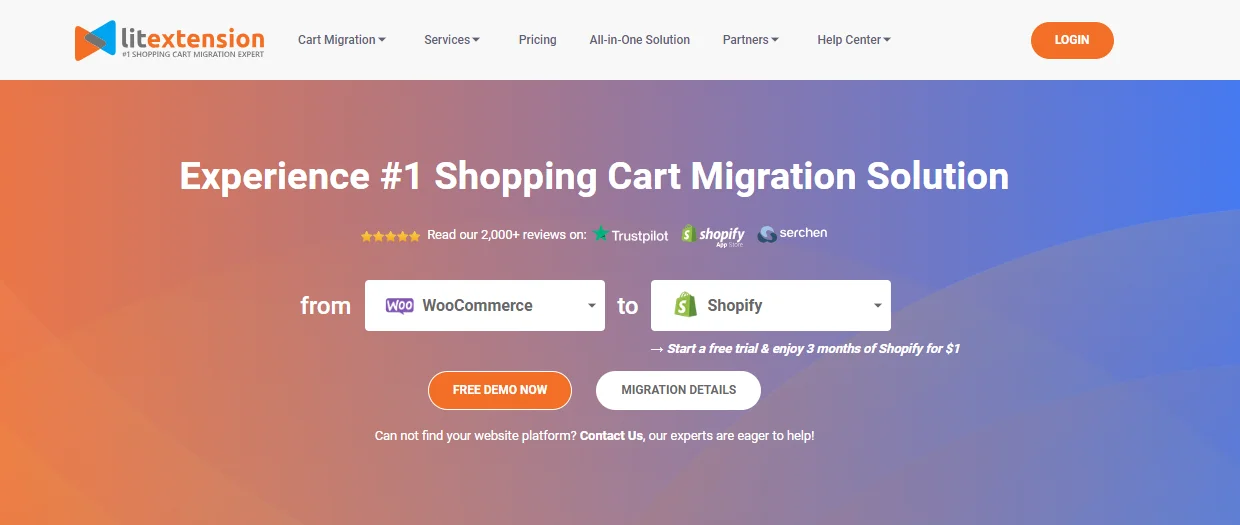
Another migration maestro, LitExtension offers a similar feature set with the added bonus of migrating coupons, reviews, and user roles. Its multi-store migration capabilities cater to businesses with complex setups.
2. Connection and Configuration:
- Shopify API Key: Both plugins require a Shopify API key to access your store’s data securely. Don’t worry, generating one is a simple process within Shopify settings.
- Target WooCommerce Store: Provide the URL and admin credentials of your new WooCommerce store, allowing the plugin to seamlessly transfer your data.
- Data Selection: Choose the specific data you want to migrate, be it products, customers, or orders. You can even filter by date range or product category for granular control.
3. Migration Magic in Action:
- Sit back and relax: Once you’ve configured the plugin, it will handle the heavy lifting, automatically transferring your data from Shopify to WooCommerce. Progress bars and detailed logs keep you informed of the process.
- Testing and Verification: After the migration, take your newly migrated store for a spin! Test product pages, checkout functionality, and payment gateways to ensure everything is functioning flawlessly.
Step 3: Installing and Configuring WordPress
With your data prepped and migration strategy chosen, it’s time to prepare the stage for your WooCommerce masterpiece! This step involves setting up the WordPress core, the robust foundation upon which your online store will thrive.
1. Choosing Your Hosting:
- Self-hosted: For ultimate control and flexibility, consider self-hosted WordPress. You’ll choose a web hosting provider and install WordPress manually. This offers customization freedom but requires more technical know-how.
- Managed hosting: Prefer a hands-off approach? Opt for managed WordPress hosting. Your provider takes care of installation, updates, and security, leaving you free to focus on your store.
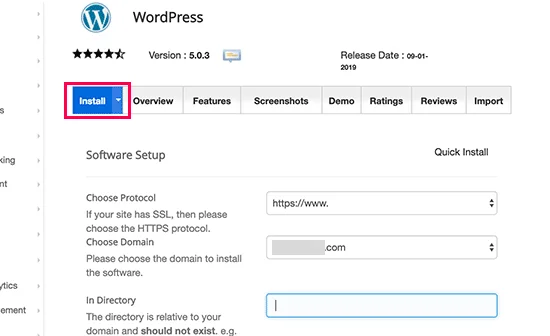
2. Installing WordPress:
- Self-hosted: Follow your hosting provider’s instructions to install WordPress. It’s usually a straightforward process involving downloading the software and setting up a database.
- Managed hosting: Your provider will likely have a pre-installed WordPress platform ready for you to access. Simply log in and get started!
3. Activating WooCommerce:
- Once WordPress is up and running, navigate to the “Plugins” section and search for “WooCommerce.” Install and activate the plugin.
- This initiates the WooCommerce setup wizard, guiding you through essential configuration steps like store address, currency, and shipping options.
4. Initial WooCommerce Settings:
- Store Information: Enter your store name, address, and contact details for customers.
- Products and Inventory: Choose whether to manage products within WooCommerce or import them later (we’ll cover this in Step 5).
- Payments: Connect your preferred payment gateway(s) to accept online payments securely.
- Shipping: Configure your shipping options and rates to ensure smooth delivery for your customers.
Step 4: Theme Selection and Customization

With the technical groundwork laid, it’s time to unleash your inner designer and adorn your WooCommerce store with a stunning theme! This step goes beyond aesthetics, as the right theme influences usability, conversion rates, and brand perception. So, let’s explore the theme selection process and some basic customization options:
1. Finding the Perfect Theme:
Imagine your WooCommerce store as a blank canvas. The theme you choose is your palette, defining the overall look and feel. With thousands of free and premium themes available, finding the perfect match can be overwhelming. Consider these factors:
- Industry and Brand Alignment: Choose a theme that aligns with your industry and brand aesthetic. For example, a minimalist theme might suit a jewelry store, while a playful theme could work for a toy retailer.
- Functionality and Features: Consider features like product gallery layouts, blog integration, contact forms, and mobile responsiveness. Choose a theme that offers the functionalities you need for a seamless customer experience.
- Customization Options: Some themes offer extensive customization options like color palettes, font changes, and layout modifications. Others are more “out-of-the-box” solutions. Choose a theme that aligns with your comfort level and desired level of control.
- WooCommerce Compatibility: Ensure the theme is compatible with the latest WooCommerce version for optimal performance and plugin integration.
2. Theme Customization Tips:
Once you’ve chosen your theme, it’s time to personalize it and make it your own. Here are some basic customization options:
- Logo and Branding: Upload your logo and adjust brand colors to create a cohesive visual identity.
- Menus and Navigation: Configure your website’s menu structure for intuitive navigation and easy product discovery.
- Homepage Banner and Slider: Set up an eye-catching banner or slider to showcase your featured products or promotions.
- Product Page Layout: Choose a product page layout that highlights product details, images, and reviews effectively.
- Call to Action Buttons: Make it easy for customers to take action by adding prominent “Buy Now” or “Add to Cart” buttons.
3. Theme Customization Tools:
Many themes offer built-in customization tools within your WordPress dashboard. Some popular options include:
- Theme Customizer: This visual interface allows you to adjust colors, fonts, layouts, and other settings without touching code.
- Shortcodes: Themes might offer shortcodes to embed specific elements like banners, contact forms, or product sliders.
- Widgets: Widgets are pre-built modules you can drag and drop into your sidebar or other designated areas for added functionality.
4. Advanced Customization:
For those comfortable with code, the world of theme customization expands even further. You can directly edit theme files or utilize plugins like Custom CSS and Elementor to achieve bespoke designs and functionalities.
Remember, theme selection and customization is an iterative process. Don’t be afraid to experiment and tweak your theme until you achieve a look and feel that perfectly reflects your brand and resonates with your customers. With the right theme and a touch of personalization, your WooCommerce store will be ready to captivate and convert!
Step 5: Migrating Your Data From Shopify To Woocommerce

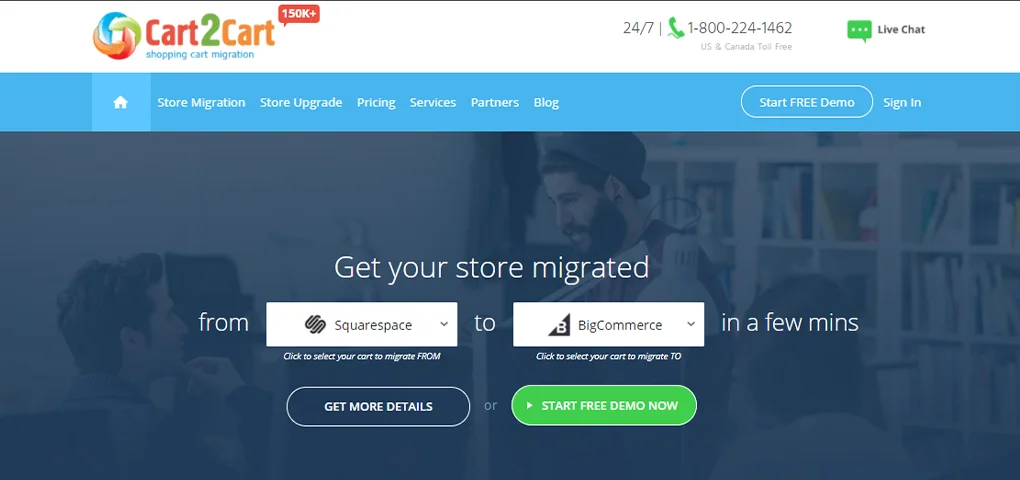
With your WooCommerce foundation laid and theme beautifully in place, it’s time to breathe life into your new store by seamlessly transferring your data from Shopify. This step focuses on leveraging the power of Cart2Cart, a dedicated migration plugin designed to make this process smooth and efficient.
1. Configuring Cart2Cart:
- Connect Your Stores: Provide your Shopify store URL and API key (easily generated within Shopify settings) to grant Cart2Cart access to your data.
- Target WooCommerce Destination: Enter your WooCommerce store URL and login credentials. This tells Cart2Cart where to send your migrated data.
- Choose Your Data: Select which data you want to migrate, including products, customers, orders, coupons, and even blog content. You can choose specific date ranges or product categories for a more granular transfer.
2. Let the Migration Magic Happen:
- Sit Back and Relax: Once you’ve configured the settings, Cart2Cart will handle the heavy lifting. Watch a progress bar as your data seamlessly flows from Shopify to WooCommerce. Detailed logs keep you informed of the process.
- Advanced Features: Cart2Cart offers additional features like data mapping and order status synchronization to ensure your data arrives accurately and functions seamlessly in WooCommerce.
3. Verification and Testing:
- Post-Migration Review: After the migration is complete, take your new WooCommerce store for a spin! Test product pages, checkout functionality, and payment gateways to ensure everything works flawlessly.
- Data Comparison: Don’t leave anything to chance! Compare your migrated data with your Shopify data to ensure all products, customers, and orders have transitioned accurately.
4. Beyond Cart2Cart:
- Additional Plugins: While Cart2Cart handles most essential data, you might need separate plugins to migrate specific functionalities like loyalty programs or custom apps.
- Manual Touch-Ups: Depending on your store complexity, minor manual adjustments might be needed after the migration. Be prepared to fine-tune product descriptions or adjust specific settings.
By leveraging the power of Cart2Cart, you can effortlessly migrate your data from Shopify to WooCommerce, ensuring a smooth transition without losing valuable information or disrupting your business operations. Remember, thorough testing and verification are crucial to guarantee a seamless and successful migration.
Step 6: Thorough Testing and Verification
Now that your data has transitioned from Shopify to your new WooCommerce haven, it’s time to don your quality assurance hat and meticulously ensure everything functions flawlessly. This crucial step goes beyond aesthetics; it’s about guaranteeing a seamless user experience and eliminating potential hiccups that can hinder your business.
1. Product Page Scrutiny:
- Visual Verification: Scrutinize product images, descriptions, and variations to ensure they match your original Shopify data and display correctly on your WooCommerce store.
- Inventory Accuracy: Double-check product stock levels and SKUs to guarantee accurate availability and prevent frustrating out-of-stock scenarios.
- SEO Optimization: Review product page meta descriptions and title tags to ensure they align with Shopify SEO best practices and maintain search engine visibility.
2. Checkout Flow Optimization:
- Test the Purchase Journey: Simulate a customer purchase from product selection to order confirmation. Test different payment methods, shipping options, and discount codes to ensure a smooth and secure checkout experience.
- Mobile Responsiveness: Don’t forget mobile users! Test your checkout process across various devices and screen sizes to guarantee optimal functionality and avoid conversion roadblocks.
- Order Confirmation and Tracking: Verify that order confirmations are sent promptly and accurately reflect the purchased items. Ensure order tracking information is accessible and functional.
3. Payment Gateway Integration:
- Confirm Successful Transactions: Test different payment gateways to ensure seamless processing of customer transactions. Verify that your chosen payment gateway integrates flawlessly with WooCommerce.
- Security Checks: Implement security measures like strong passwords and SSL certificates to protect your customers’ sensitive information. Consider conducting regular security audits for added peace of mind.
4. Data Verification Tools:
- WooCommerce Order Comparison: Utilize plugins like “WooCommerce Order Export/Import” to compare your migrated orders with your Shopify data. This helps identify any discrepancies and ensures accurate order fulfillment.
- Google Search Console: Leverage Google Search Console to monitor broken links, indexing errors, and other technical issues that might arise after the migration. Address them promptly to maintain optimal website performance.
5. Ongoing Monitoring and Tweaking:
- Customer Feedback: Actively seek customer feedback on their shopping experience after the migration. This helps identify areas for improvement and ensure your WooCommerce store continues to meet customer expectations.
- Performance Optimization: Monitor website loading speeds, conversion rates, and other key metrics to identify areas for optimization and refine your WooCommerce store’s performance.
Thorough testing and verification are not just a formality; they’re an investment in your business’s success. By meticulously scrutinizing every aspect of your migrated store, you can eliminate potential glitches, enhance user experience, and ensure a smooth transition from Shopify to your thriving WooCommerce haven.
Step 7: Launch Your WooCommerce Store and Beyond
With meticulous testing complete, it’s time to unleash your WooCommerce masterpiece onto the world! This final step focuses on launching your store with a bang, attracting customers, and setting the stage for continuous growth.
1. Pre-Launch Preparations:
- Announce Your Arrival: Generate excitement by informing your existing customers about your migration to WooCommerce. Utilize email marketing, social media announcements, and blog posts to spread the word.
- Promotions and Incentives: Launch with a bang! Offer special discounts, free shipping, or limited-edition products to incentivize early purchases and attract new customers.
- SEO Optimization: Ensure your product pages and website content are optimized for relevant keywords to improve search engine visibility and organic traffic.
2. Launch Day and Beyond:
- Monitor and Analyze: Keep a close eye on website traffic, conversion rates, and customer feedback on launch day and beyond. This valuable data helps you identify areas for improvement and refine your marketing strategy.
- Plugin Power: Explore the vast WooCommerce plugin library to enhance your store’s functionality. Consider plugins for SEO optimization, email marketing automation, customer reviews, and loyalty programs.
- Security Updates: Maintain a proactive approach to security by regularly updating WooCommerce and your chosen plugins. Implement strong passwords and security measures to protect your customers’ data.
3. Continuous Optimization:
- A/B Testing: Experiment with different website layouts, product descriptions, and marketing campaigns to discover what resonates best with your customers. A/B testing helps you optimize your offerings for maximum conversion rates.
- Data-Driven Decisions: Leverage analytics data to understand your customers’ behavior and preferences. This valuable information helps you tailor your product offerings, marketing campaigns, and overall store experience for optimal success.
- Stay Informed: Keep up-to-date with the latest eCommerce trends and WooCommerce advancements. Attend webinars, read industry blogs, and participate in online communities to stay ahead of the curve and continue innovating.
By embracing these post-launch strategies, you’ll transform your WooCommerce store into a thriving online empire. Remember, success is not a destination, it’s a journey. By continuously optimizing, learning, and adapting, you’ll ensure your WooCommerce store stays ahead of the competition and continues to captivate your customers for years to come.
Conclusion
The migration path from Shopify to WooCommerce isn’t just a data transfer; it’s a transformative journey towards boundless freedom and control. By meticulously following these seven steps, you’ve meticulously crafted a robust WooCommerce haven, empowered by open-source flexibility and plugin-driven magic.
Remember, the success of your migration doesn’t end at launch. Embrace continuous optimization, leverage data insights, and stay abreast of industry trends. With a commitment to learning and adaptation, your WooCommerce store will evolve into a thriving online empire, exceeding customer expectations and propelling your business to new heights.
So, take a deep breath, celebrate your accomplishment, and embark on your WooCommerce adventure with confidence. The boundless potential of your online haven awaits!